
Mochi is a glutinous rice cake. That maybe didn't win you over. Let me start again: mochi is a delicious glutinous rice cake. Does that sound better? How about if I tell you it's super easy to make?
That wasn't always the case. Traditionally, mochi was made by pounding still-hot short grain glutinous rice into a paste, then cooling it and cutting it into pieces. It was made in a new year's ceremony called mochitsuki. I found a nice article about a contemporary mochitsuki ceremony here, and a video of mochi being pounded and formed here, if you're so inclined.
Not being one for ceremony or all-day rice smashing, I make mochi the quick and easy way, which I learned from a ex-girlfriend. I've changed things up a little bit since then; a lot of quick mochi recipes involved mixing the ingredients and tossing them into a pan in the oven (which takes too long for my taste), or microwaving the mochi to heat it up (which is lame because microwaves are lame even though I miss having one sometimes). I like to just make it in a pot on a stove.
Why is it so quick and easy? Because we just use rice flour:

BOOM. Rice flour has the consistency of corn starch. When added to water it creates a dough (duh; just like regular flour). But before I get into all that, let me spell everything out for you so you can follow along:

-1 cup sweet rice flour (really, you should use Mochiko; if someone asked me to use a different type I'd rip their throat out with my teeth, but then I'd use it after all because I'm hungry probably)
-1 cup water
-1/4 cup sugar
-Food coloring (optional)
-Corn starch or the traditional potato starch, kata-kuriko (for rolling the dough)
-Red bean paste
You can make red bean paste if you're so inclined. I am not inclined so, and instead open up a can of already made red bean paste and scoop it out like a grown up person.

Different types of red bean paste have slightly different consistency, so you might just be able to scoop it out and pop it into the mochi no problem, but if it doesn't work, or the heat of the mochi makes the red bean paste goopy, well, you're gonna have a big reddish-brown poopy mess on your hands. To be on the safe side, we like to pre-scoop little globs of red bean paste onto some parchment paper and put them in the freezer for a bit.

Yeah, girl, this is gonna be super easy now!
Ready? Okay. Put your water in a pot on the stove, add the sugar and just a couple of drops of food coloring, turn on the heat. Stir it up or whatever, ok? Obviously the sugar needs to be completely dissolved. Figure it out, you baby.

When it gets to a boil, shut off the heat and pour in your rice flour.

You need to seriously stir it because it's gonna get super goopy super fast.


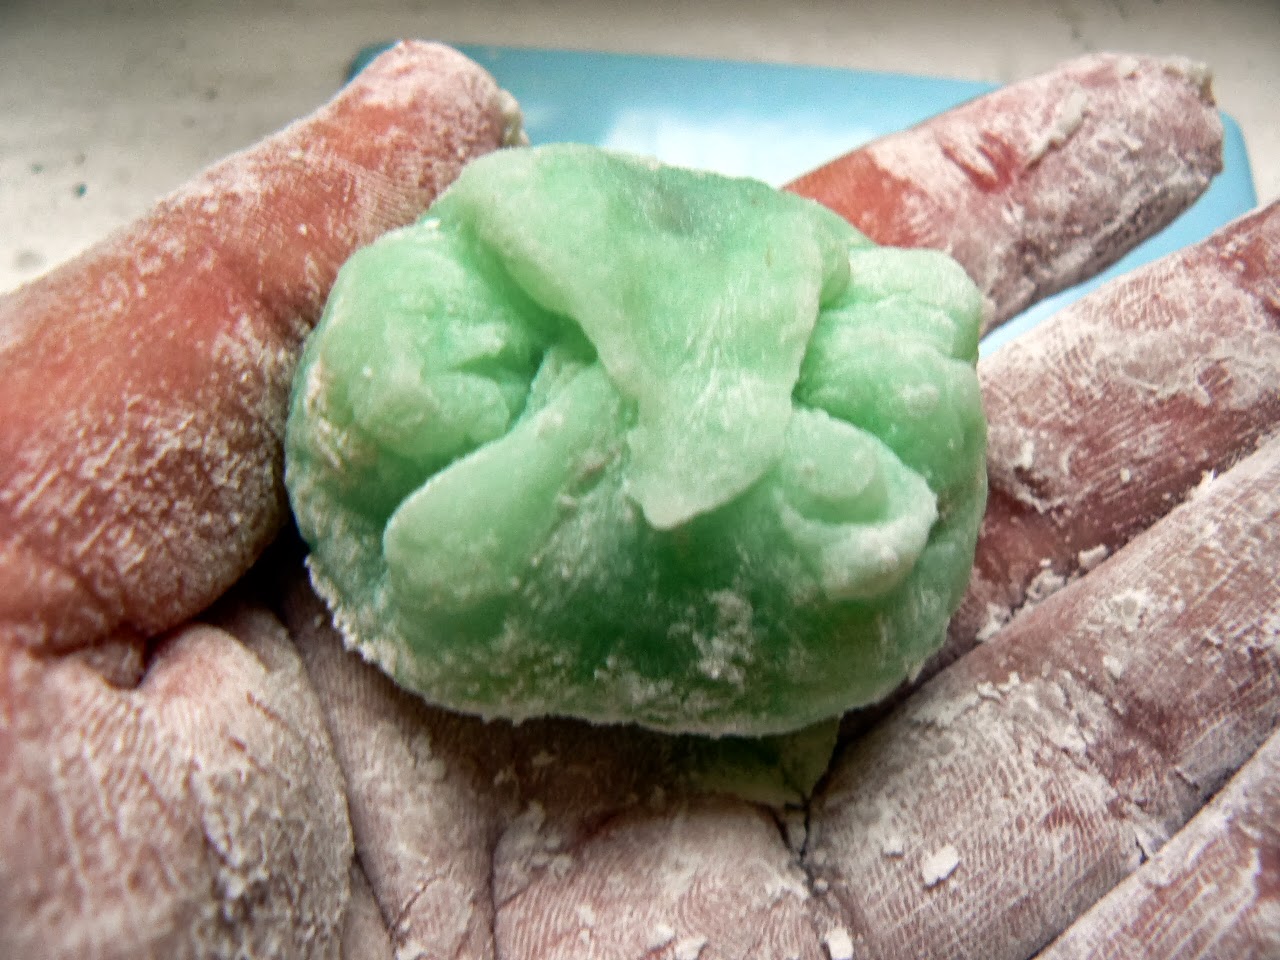
Now here's where it gets messy (or messier, if you're me). I put the dough ball in a bowl next to a plate (the plate is for the finished mochi. I take some corn starch and put it on my hands like I'm chalking up for a wrestling match; the mochi is really, really sticky, and if it gets stuck to you, it's all over, and by all over, I mean it's all over until you wash your hands clean. But the dough is easiest to work with when it's still hot, so having to wash off your hands wastes some of that prime mochi-making time. Take it from a man who's been found on the floor, sobbing, hands covered in steaming mochi dough: use the corn starch. Once you're all corn starched up, grab a hunk of that dough, about 1 1/2 Tablespoons worth, and just make a little ball out of it. Roll it up. Keep it in your hand. Feel it burn your flesh; this is the fire of creation, young one.

Grab one of your red bean paste globs and put it on top of the mochi ball in your hand. The mochi is pretty stretchy, so you'll just pinch the dough up around it.

This won't completely cover it, so pinch up the other sides too.
Just work it a little bit so the thing gets covered.

Roll it a little bit more and then set it on the plate.

You've just taken your first step into a larger world. You can roll it in a little bit of extra corn starch if you want, just to make it look nice, and also so it doesn't stick to every damn thing.
You can eat them up like this if you want, and usually I do. Freshly made they're fantastic, but they'll keep for a day or two if you put them in an airtight container to keep the outside from getting too stale. And really, the whole process took maybe ten minutes, most of which was putting the filling in. I've whipped them up without filling before and it takes almost no time at all. You can change the filling, if you like. We've put cherries in them before and they were sooooooo good.
With this batch I decided I wanted to crisp up the outside a little bit because sometimes that's just what a person needs to do. At first I tried putting them on a metal skewer and holding them over an exposed gas burner, but I couldn't control the rotation of the mochi well enough, and things got out of hand. I chose not to take pictures of my blackened mochi. Sorry, haters.
For my second attempt, I just popped them in a dry skillet (as with everything ever, I used the cast iron skillet) and crisped them.

And here they are finished up:
The toasted part gives the whole thing a kind of roasted marshmallow flavor that worked really well with the bean paste. YUM.
And now for a BONUS EXPERIMENT:
We made an additional batch of mochi without the food coloring and the bean paste and tried to crisp it up in the traditional manner, which involves lightly toasting the mochi on a wire rack. We tried somewhat successfully to replicate this using a metal cooling rack over two burners on low heat:

The low heat of this method makes the mochi cakes puff up, so they're a little airier than the ones we made above.
Instead of rolling the dough into balls, Beth took the dough for this second batch, rolled it out and cut it into squares. Before toasting, she applied a glaze to the squares consisting of:
1 Tbsp miso paste
1 Tbsp mirin (a sweetened Japanese cooking wine)
1 Tbsp soy sauce (this amount can be adjusted to give the glaze its proper consistency)

Then we popped them on the rack

It turned out that even having the burners at the absolute lowest setting was too much direct heat, so there was a little bit more burning than we'd been shooting for at first. We attempted to correct this problem of burning everything a lot by putting some aluminum foil between the burner and the rack to get more radiating heat than direct heat. A toaster oven would probably be perfect for this, but alas, toaster ovens are stupid.
Due to our initial miscalculations, not all of the mochi puffed up as we liked, but some of the pieces did fantastically.

And then we ate it all and it was delicious. THE END.
Before I read this, I had absolutely no desire to try a mochi and now I do. Well played, Jack and Jill Piepan.
ReplyDeleteYES! in truth, for a long time my main idea of mochi was the frozen kind that have green tea ice cream in them, which is really more of an ice cream delivery system than any kind of real mochi. but once amber showed me how easy it was to make, i've been a big fan.
Delete